Let the Craft Show Before the First Cut
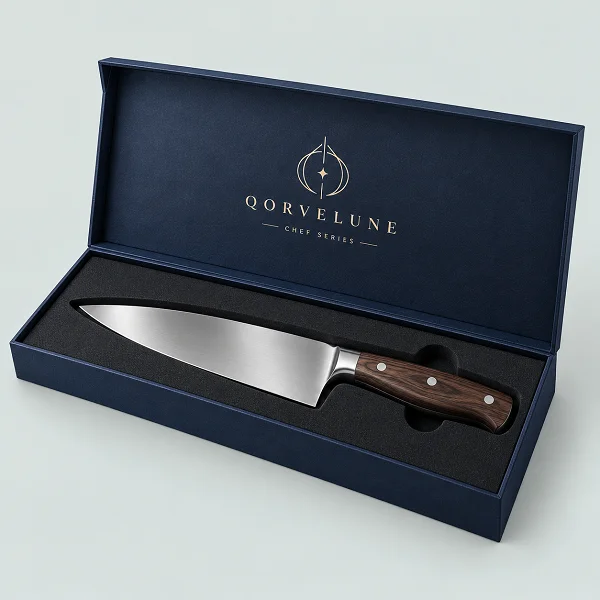
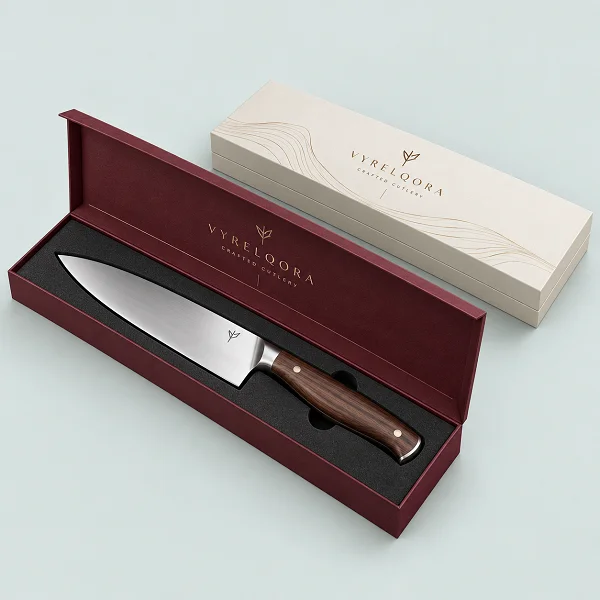
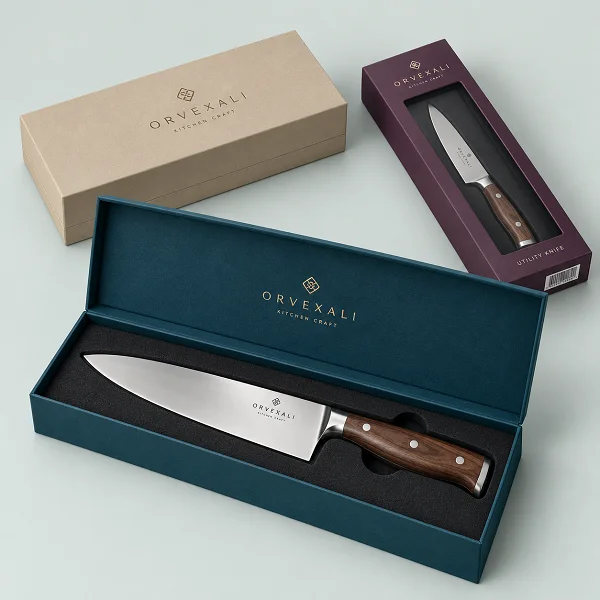
A buyer often sees the box first then judges the knife once it is in their hand. A loose blade inside an oversized carton can undo the care you have put into the product. A well-fitted rigid box gives the knife a defined place. The handle sits within easy reach while the surrounding layout leaves room for your branding and product information.
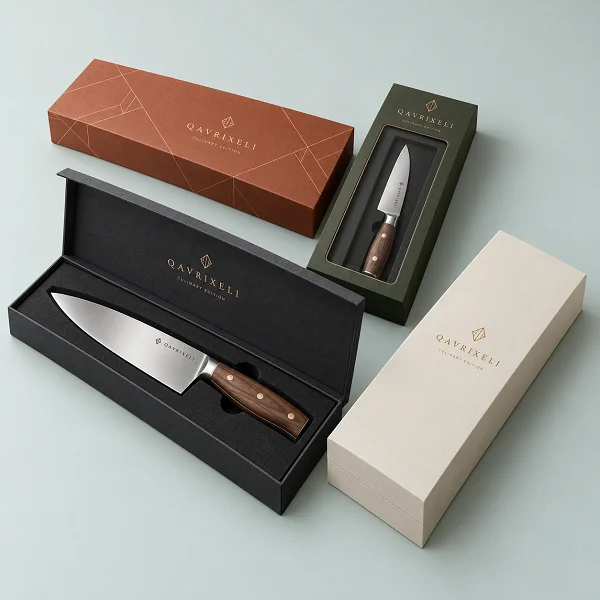
Start with the knife you need to pack. A chef’s knife with a wide blade will need a different box layout from a small utility knife. A set also needs its own space for each piece. Fine Packaging can plan custom rigid knife boxes for retail shelves and online orders using the packed knife size instead of relying only on a photo or blade length.
What Are Custom Rigid Knife Boxes?
Custom rigid knife boxes are made from firm board covered with a printed or decorative paper wrap. Inside the box an insert can hold the knife in a planned position. The construction usually keeps its shape between uses. Box dimensions and insert profiles are developed around the knife so the packaging suits its length and handle shape as well as its weight.
Build the Fit Around the Whole Knife
The blade length printed on a product listing is only part of the sizing job. Measure from the furthest point of the handle to the blade tip. Include the widest part of the blade and the thickest part of the handle. If the knife will be packed with a sheath or blade guard measure it with that protection fitted.
Leave Room Where the Product Needs It
A blade tip should not press against the end wall. The cutting edge also needs a suitable arrangement that keeps it away from surfaces it could damage. For custom rigid knife boxes the inside fit matters just as much as the outer box. Extra length alone does not solve a poor fit if the knife can slide forwards when the box is moved.
Handles can create their own fit problems. A rounded timber handle can sit higher in the box than the blade. A finger guard can catch on a narrow cut-out. Send us those details early so the proposed cavity allows for the full profile. A physical product sample is especially useful when the shape cannot be described clearly with straight measurements.
Make Removal Comfortable
The customer needs somewhere sensible to grip the handle. A finger recess beside it can help with removal without encouraging someone to reach towards the cutting edge. Where a retaining strap is proposed its position should be checked with the actual product. The knife should come out deliberately without requiring force that could send it unexpectedly across the box.
Example Sizes for Single Knives and Sets
The examples below offer a starting point for planning custom rigid knife boxes. They are internal dimensions rather than the outside measurements of a finished box. Insert thickness and the space required around the knife will reduce the usable cavity. Confirm the layout against your own product before selecting a size.
| Knife Format |
Example Internal Size (L × W × H) |
Fit to Check |
| Small utility or paring knife |
250 × 90 × 45 mm |
Overall length and handle height |
| Medium kitchen knife |
330 × 110 × 50 mm |
Blade width and finger recess |
| Large chef’s knife |
400 × 130 × 55 mm |
Tip clearance and insert depth |
| Long bread or carving knife |
450 × 120 × 55 mm |
Full length with blade protection fitted |
| Two-knife set |
400 × 220 × 60 mm |
Separation between both knives |
| Three-knife set |
430 × 300 × 65 mm |
Individual cavities and combined weight |
Note: A deeper box may be needed for a thick handle or a raised insert. Wider layouts may suit accessories such as a sharpening tool. Keep those additions in the sizing brief from the start rather than trying to squeeze them into unused space later.
An Opening Style That Suits Your Range
The way a box opens affects packing and customer handling. It also changes the space available for artwork. When planning custom rigid knife boxes think about how your team will pack the knife and how the buyer will take it out. Three common structures offer different ways to arrange the knife and its supporting information.
Magnetic Closure Boxes
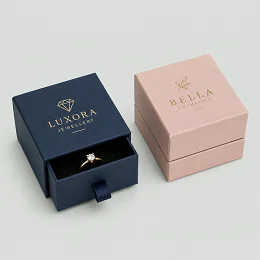
A hinged cover opens to reveal the knife and can carry artwork on its inside face. This gives you room for a short maker’s story or a care message without crowding the outer lid. Check that the cover closes freely over the loaded insert. Magnetic closures help keep the cover shut but should not be treated as locks or transport restraints.
Drawer Style Boxes
A drawer structure holds the insert inside a sliding tray. A ribbon pull or shaped opening can provide a grip point. The tray needs a suitable fit within the sleeve so it moves smoothly without slipping out too easily. Consider how the customer will hold the sleeve while opening it and whether the loaded tray remains stable during that movement.
Lift-Off Lid Boxes
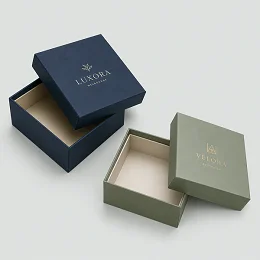
A removable lid reveals the full insert layout at once. This can be useful for a set where customers need to see each knife together. Lid depth and the fit around the base affect opening. A very tight fit can be awkward while a loose cover may lift away during handling. Assess that balance with a sample rather than judging it from artwork.
Give Each Knife a Defined Position
We can discuss knife boxes with foam inserts where shaped cavities are appropriate for the product. Foam type and thickness should be chosen for the required support. A neat cut-out is only the beginning. The insert must be assessed for retention and compatibility with the knife finish including any surface treatment or protective oil.
For custom rigid knife boxes holding more than one knife each piece needs its own position. Handles should not knock against neighbouring blades. The insert may also need separate recesses for guards or accessories. Keep the inside layout clear so your team can spot a missing piece before the box is closed.
Consider Other Insert Materials
A folded board insert may suit some lighter products when its structure provides enough support. Moulded pulp or other shaped materials may also be worth discussing depending on availability and the required fit. Material choice should follow the product assessment. A paper-based insert still needs careful checks around sharp edges and points rather than being selected on appearance alone.
Print Details That Belong to Your Knife
Printed rigid knife boxes can carry your logo and range name alongside a blade reference or model code. Give the buyer enough information to recognise the product without turning every panel into a sales pitch. A clear name on the outer surface can be more useful than a long paragraph of small type.
The paper wrap offers space for restrained artwork or a more expressive design. With custom rigid knife boxes you might place a maker’s mark on the lid and keep specifications on the underside. If several models share the same design leave a planned area for model identification. This helps staff distinguish similar boxes once they are packed.
Keep Useful Information Readable
Care instructions can sit on a separate card where there is enough space to read them comfortably. Add information that matches your particular blade and handle materials. If you include a QR code test the printed version at its intended size. Barcodes and labels also need a clear position away from seams or areas covered by a closure.
Finishes with a Clear Job to Do
A finish changes how the paper wrap looks and feels. Request samples when possible because a screen cannot show surface texture accurately. Retail rigid knife boxes may be handled several times before purchase. Ask about the expected behaviour of the selected wrap and finish under rubbing and routine handling rather than assuming every surface will perform alike.
| Finish |
Appearance |
Design Consideration |
| Matte |
Low sheen that gives dark artwork a subdued look |
Check a sample for handling marks on large dark panels |
| Gloss |
Reflective surface that adds brightness to printed colours |
Review the printed wrap beside the knife to assess the overall look |
| Foil Stamping |
Metallic detail on a logo or maker’s name |
Keep fine lettering clear enough for the selected foil process |
| Embossing |
Raised artwork that adds texture to the wrap |
Confirm that the material and box construction suit the proposed detail |
| Debossing |
Recessed artwork pressed into the surface |
Allow enough space around the design so its outline remains distinct |
Note: Test your chosen finish on a printed wrap sample first. For custom rigid knife boxes a simple detail on the lid can be enough to make the design feel finished.
Packaging for Australian Knife Businesses
Fine Packaging discusses rigid packaging boxes in Australia with businesses developing their own branded ranges. Your location helps us plan delivery while your product details guide the box design. Tell us whether the order is for a knife maker or a retail range and whether the boxes will be loaded at one site or several.
If you need custom kitchen knife boxes in Melbourne share the full knife dimensions and your preferred structure. For rigid knife packaging in Sydney the same practical details matter alongside quantity and artwork requirements. A clear brief helps us shape the box around your actual knife range instead of working from a general product description.
Businesses enquiring about rigid knife packaging boxes in Adelaide can include their delivery postcode and intended packing date. Fine Packaging can quote on rigid knife boxes for businesses across Australia. Local delivery planning does not change the need to check product fit and insert performance before approving the packaging.
Check the Loaded Box Before Ordering More
Start the sample check with the real knife and every item that will go in the box. Place everything inside then close the packaging as your team would on a normal order. Check for pressure around the handle and any contact near the blade tip. Also make sure staff can pack the custom rigid knife boxes the same way each time without having to adjust the insert by hand.
Next consider how the packed box will travel. A branded rigid box may need an outer shipping carton with suitable cushioning for courier delivery. Review the complete packing arrangement for the expected journey. Do not assume a strong-looking board shell or a foam cavity has proved the package suitable for transport without an appropriate assessment.
Review the Details Customers Will Notice
Check that the knife sits level and the insert does not obscure the maker’s mark. Lift the product using the planned grip area. Make sure any care card stays clear of the cutting edge. Then review print placement and model identification. Small corrections at this stage can make packing simpler and help the finished order look consistent.
Plan Bulk Orders Around Your Product Range
Start your order with 50 custom rigid knife boxes per size and design. Ordering rigid knife boxes in bulk works best when the dimensions and artwork are settled. If your range includes several knives compare their overall profiles before choosing a shared box. One outer size may be practical with different inserts. However each combination still needs to be checked rather than assuming a cavity will suit every handle.
For wholesale rigid knife boxes ask for pricing against the quantities you genuinely expect to use. Separate artwork versions and extra finishing processes can affect the quote. Storage matters too because many assembled rigid structures occupy their full volume before packing. Allow space for incoming cartons and leave staff room to identify each model clearly.
Choose Materials with the Complete Box in Mind
We select the rigid board thickness around the knife’s weight and box dimensions. The paper wrap is specified separately to suit your printing and finish. The board shell is only one part of the box. The outer wrap adhesive insert and closure all play a role. Before adding material claims to your artwork check what each component is made to do. For custom rigid knife boxes with mixed components it is helpful to know whether the insert can be removed easily when the customer no longer needs the packaging.
Kraft-style wraps can suit a maker who prefers a simple natural appearance. A smooth printed wrap may suit a range that needs precise colour matching. Neither appearance tells you the recycled content of the material. If recycled stock is important to your brief request the available specification and keep any printed claim consistent with the material actually supplied.
Account for Packing and Storage Conditions
Store empty boxes somewhere dry and protected from crushing. Avoid placing heavy stock on top of finished packaging. When the knife has a protective coating or oil discuss that with the packaging supplier before selecting the insert or lining. The materials around the knife need to suit its condition when packed as well as its shape.
You may also want a box your customer can keep for safe storage. In that case check repeated opening and removal during sample review. Custom rigid knife boxes intended for reuse still need clear handling instructions where relevant. A reusable box should allow access to the handle while keeping the blade position predictable each time it is returned.
Put Your Knife at the Centre of the Quote
Send the overall knife measurements and packed weight with any sheath details. Include the number of models and your preferred opening style. Artwork files or a rough layout will help explain the look you have in mind. Fine Packaging can discuss design and dieline support for custom rigid knife boxes as the proposed structure takes shape.
Bring your next knife range to Fine Packaging and we can shape the packaging around the product itself. Email support@finepackaging.com.au for free quotes on custom rigid knife boxes and discuss free shipping across Australia. Share your delivery details and preferred timing so the quote can cover the box structure and insert alongside printing and freight arrangements.